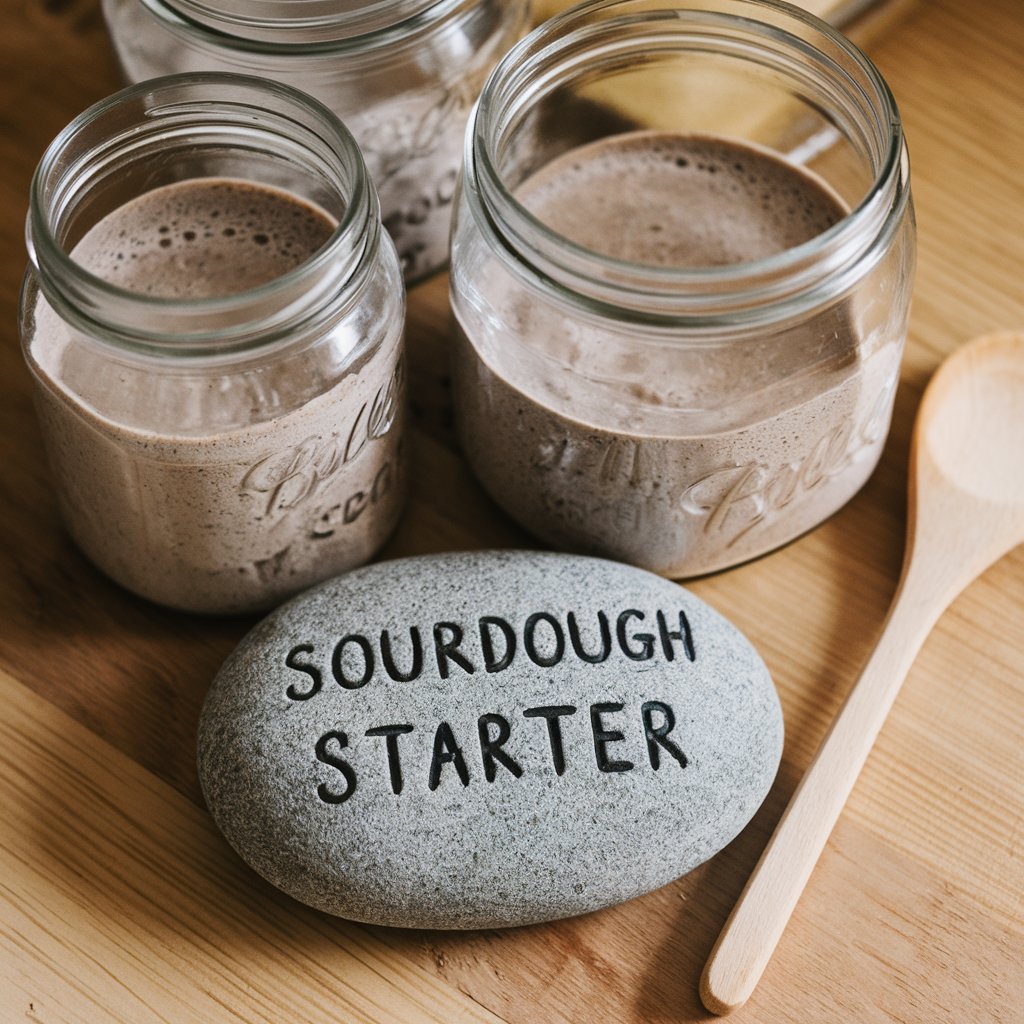
Hey there, fellow baking enthusiast! If you’ve stumbled upon this guide, you’re probably curious about sourdough bread that fills your kitchen with the warm, comforting aroma of freshly baked goodness. You might have seen those beautiful, crusty loaves on Instagram or heard friends rave about their sourdough adventures. Today, I’m excited to walk you through creating your very own sourdough starter, that magical mix of flour and water that brings wild yeast and flavor to your bread.
What Exactly is a Sourdough Starter?
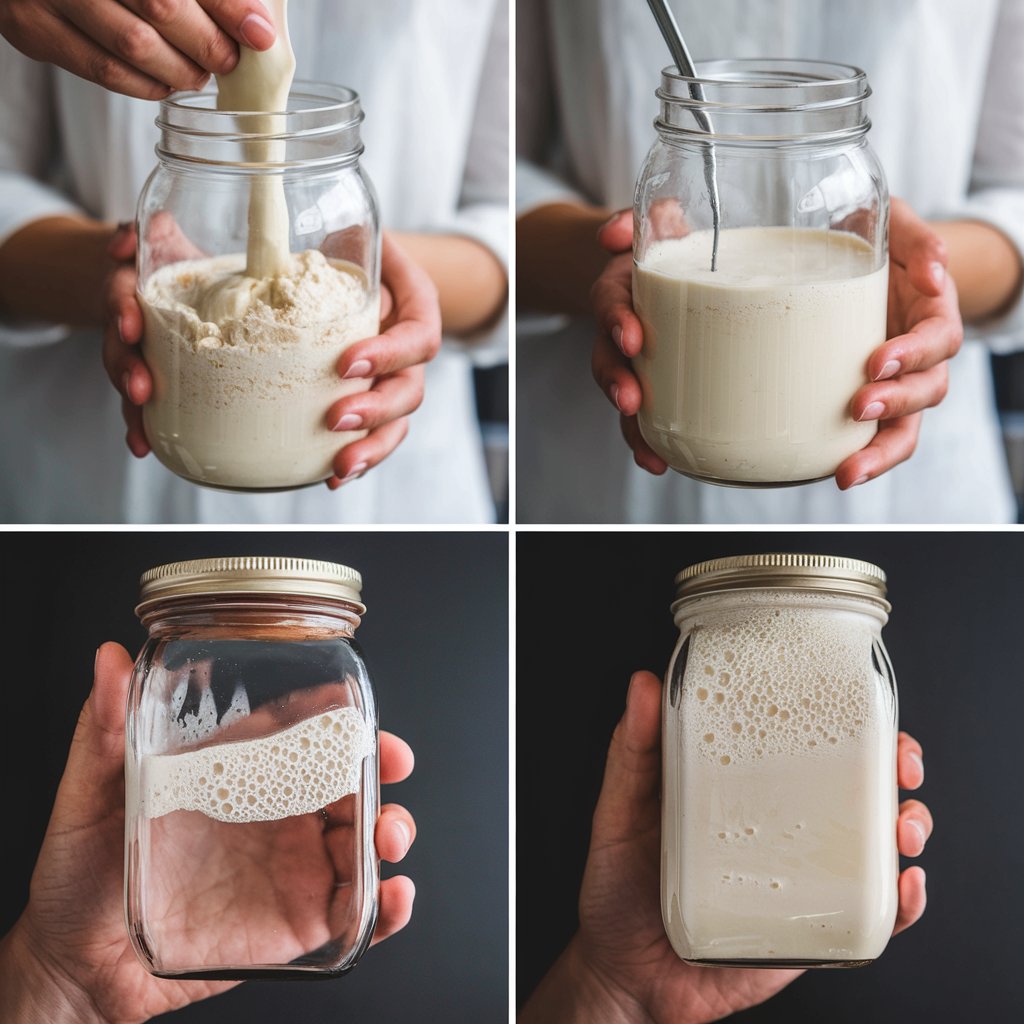
So, let’s start with the basics. A sourdough starter is a living culture made from flour and water that has fermented over time. It captures wild yeast and bacteria from the environment, turning your kitchen into a delicious mini-laboratory. This process is what gives sourdough its signature tangy flavor and chewy texture.
A sourdough starter, in contrast to the fast-acting commercial yeast we usually rely on, ferments slowly and naturally, creating bread with a richer and more complex flavor. Think of it as the difference between a quick coffee and a slow-brewed cup that brings out all those nuanced flavors.
Why Is Sourdough So Special?
Now, you might wonder what the big deal is with sourdough.”It’s not solely about the taste; it encompasses the whole experience.”. Making a sourdough starter allows you to connect with the ancient art of bread-making, tapping into a tradition that goes back thousands of years. You’re not just following a recipe; you’re creating something alive that evolves and changes with each feed.
The science behind sourdough is fascinating, too! When you mix flour and water, enzymes in the flour break down starches into sugars. This fuels the wild yeast and bacteria, leading to fermentation that produces carbon dioxide and alcohol. It’s a beautiful dance of nature happening right in your kitchen!
Choosing Your Ingredients:
1_ Flour
Let’s talk about flour for a moment. You can use various types to create your starter, but here are a few favorites:
– *All-Purpose Flour*: A reliable choice that works well, though it might take a bit longer to show results.
– *Whole Wheat Flour*: Packed with nutrients, this flour is like a superhero for your starter, often kicking things into gear faster.
– *Rye Flour*: This one is a winner for jump-starting your starter thanks to its rich nutrients and wild yeast content.
Don’t hesitate to try new things and see what yields the best results for you. Each type of flour can lend a different flavor profile to your sourdough, making your bread uniquely yours.
2_ Water
Next up is water. It’s essential to use filtered or bottled water because tap water can have chlorine or other chemicals that might hinder your yeast’s happy dance. Aim for water that’s at room temperature—it helps kick off fermentation nicely.
3_Container
You’ll need a container that can hold your starter as it grows. A glass jar works great because you can see the bubbles forming. Just make sure it’s not made of metal, as it can react with the acidity of your starter.
Let’s Get Started!
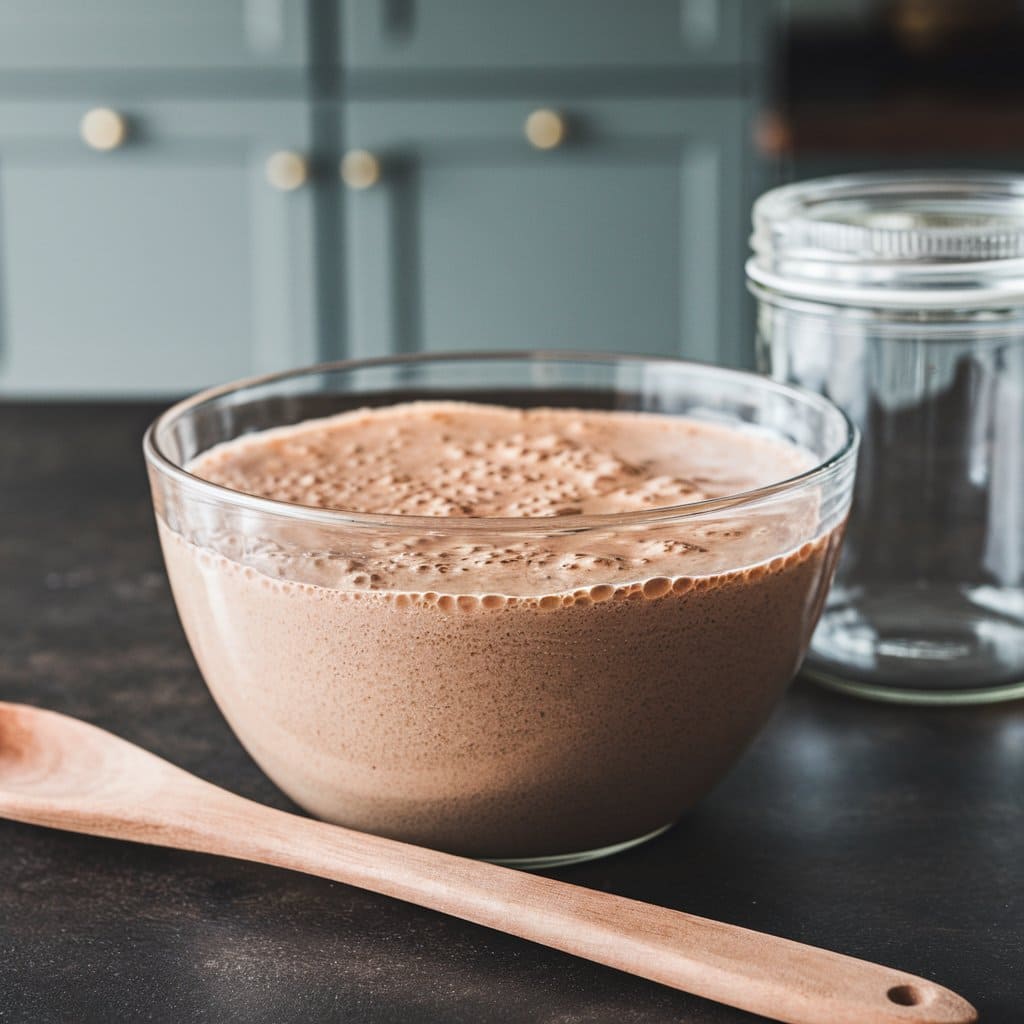
Ready to dive in? Let’s walk through the steps of creating your very own sourdough starter.
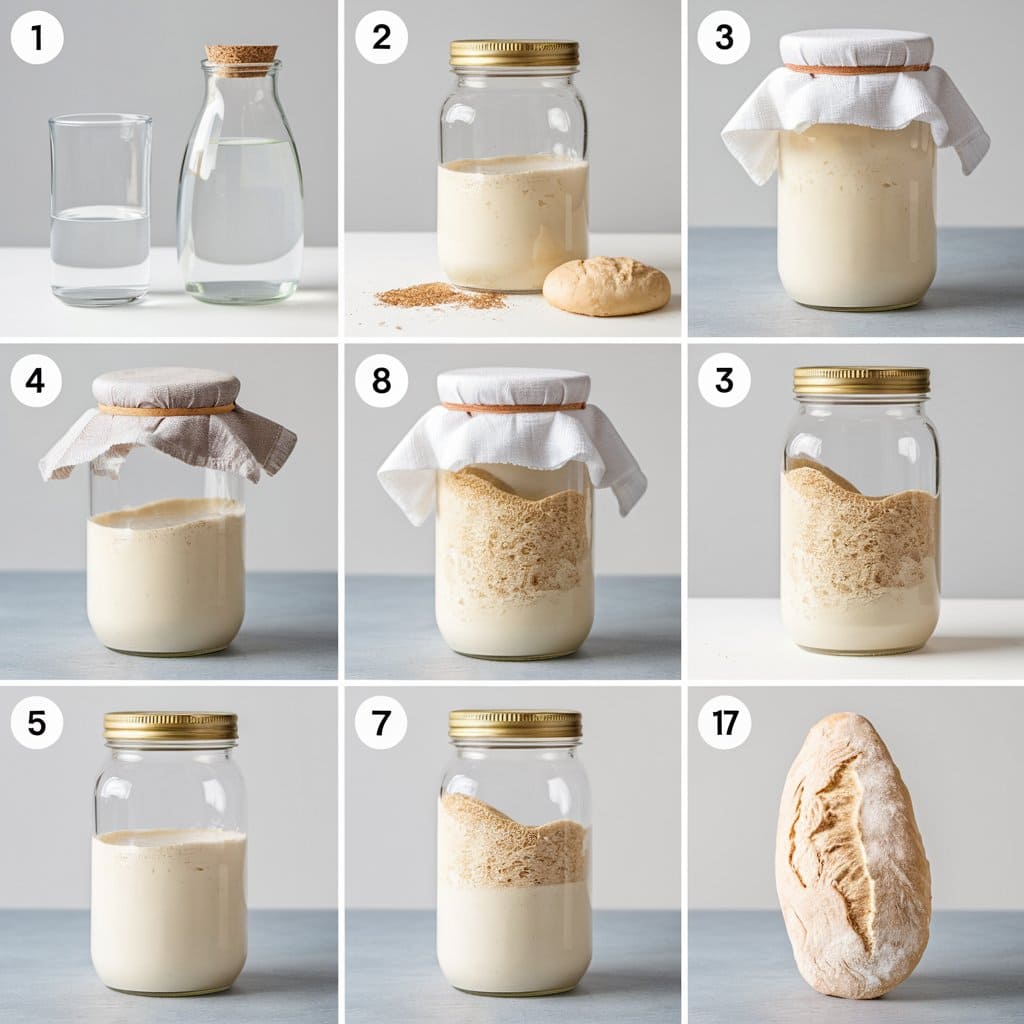
Day 1: Mixing Flour and Water
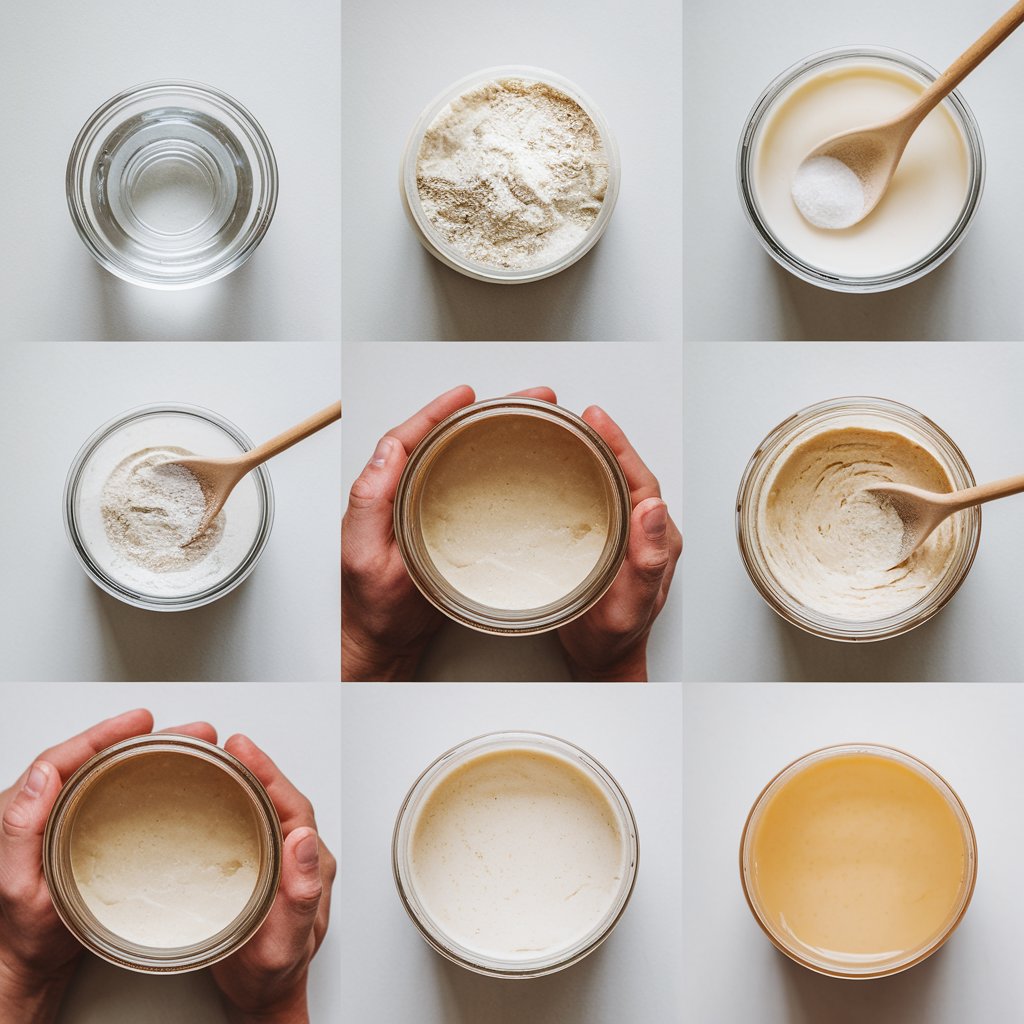
1. *Combine Ingredients*: Grab your jar and mix 100 grams (about ¾ cup) of flour with 100 grams (about ½ cup) of water. Stir it up until there are no dry bits left.
2. *Cover*: Loosely cover the jar with a cloth or lid—just enough to let air in but keep dust out.
3. *Let it Rest*: Place it somewhere warm (around 70°F to 75°F, or 21°C to 24°C) and leave it be for 24 hours. You’ve just set the stage for a little fermentation magic!
Day 2: Checking for Activity
1. *Observe*: Take a peek! You might see a few bubbles forming or a tiny rise. If not, don’t sweat it; patience is key!
2. *Feed the Starter*: Discard half of your mixture (about 100 grams), and add another 100 grams of flour and 100 grams of water. Stir and cover loosely again.
Day 3: More Bubbles
1. *Check for Growth*: By now, you should see more bubbles and some excitement in the jar.
2. *Feed Again*: Just like before, discard half, then add 100 grams of flour and 100 grams of water. Stir it up, cover it, and let it rest.
Day 4: Observing Fermentation
1. *Bubbles and Aroma*: Your starter should be bubbling and starting to smell pleasantly sour. It’s coming to life!
2. *Feed Again*: Discard half and give it another feed with the same flour-to-water ratio.
Day 5: Ready for Use!
1. *Activity Check*: Your starter should have doubled in size within 4-6 hours after feeding. If it has, congratulations—it’s ready to rock! If it’s not yet, give it another day or two until it shows consistent activity.
2. *Testing for Readiness*: To test, drop a small spoonful of your starter into a glass of water. If it floats, you’re good to go!
Taking Care of Your Sourdough Starter
Now that you have a thriving starter, it’s time to take care of it! Like any living thing, your starter needs a little love and attention to stay healthy.
Feeding Schedule
– *Baking Frequently*: If you’re eager to bake often, keep your starter at room temperature and feed it every 12 hours. This keeps the wild yeast happy and active.
– *Baking Occasionally*: If you’re not baking every week, pop your starter in the fridge and feed it once a week. Just remember to bring it back to room temperature and give it a couple of feeds before using it again.
Don’t Waste That Starter!
When feeding your starter, you’ll need to discard half of it to keep the balance right. But don’t throw it away! Use the discarded starter in fun recipes like pancakes, waffles, or quick bread. This way, you won’t waste any flour, and you’ll get to enjoy even more delicious treats.
Troubleshooting Your Starter
Creating a sourdough starter can be a rewarding journey, but it’s not without its hiccups. These are some typical challenges you may face and ways to address them:
No Bubbles or Rise
– *Cause*: Your starter might be sluggish due to insufficient yeast or bacteria.
– *Solution*: Ensure it’s in a warm spot and feed it regularly. If you’re using all-purpose flour, consider switching to whole wheat or rye flour to boost the nutrients.
Excessive Acidity
– *Cause*: If your starter smells overly sour, it might be over-fermenting.
– *Solution*: Try reducing the feeding interval or increasing the flour-to-water ratio when you feed it.
Mold or Off Smell
– *Cause*: This could be a sign of contamination.
– *Solution*: If you spot mold, it’s best to discard the starter and start fresh. Always ensure your containers and utensils are clean before using them.
Baking with Your Sourdough Starter
Once your starter is bubbling with excitement, it’s time to put it to work in the kitchen! Here’s a simple and delicious recipe to get you started on your sourdough-baking journey:
Basic Sourdough Bread Recipe
Ingredients
– 500 grams bread flour
– 350 grams water (room temperature)
– 100 grams active sourdough starter
– 10 grams salt
Instructions
1. *Mix*: In a large bowl, combine the flour and water. Stir until no dry flour remains, then let it rest for 30 minutes. This resting period called autolyze, helps with gluten development.
2. *Add Starter and Salt*: Now, add your active sourdough starter and salt. Mix until everything is well incorporated.
3. *Bulk Fermentation*: Cover the bowl and let it rise at room temperature for about 4-6 hours. During the first two hours, perform stretch and folds every 30 minutes—this helps build strength in the dough.
4. *Shape*: Turn the dough onto a lightly floured surface and shape it into a round loaf. Set it in the proofing basket with the seam facing up, ensuring the basket is floured.
5. *Final Proof*: Cover the loaf and let it rise for another 2-4 hours at room temperature, or refrigerate it overnight for a more complex flavor.
6. *Preheat Oven*: About 30 minutes before baking, preheat your oven to 450°F (230°C) with a Dutch oven inside. This helps create a steamy environment for your bread.
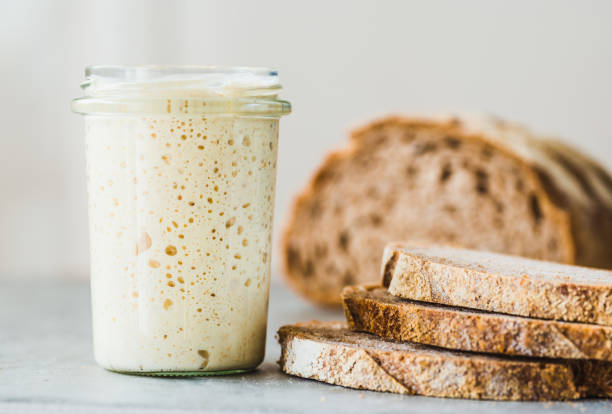
7. *Bake*: Carefully place the loaf in the hot Dutch oven, cover, and bake for 30 minutes. Then, remove the lid and bake for an additional 15-20 minutes until it’s golden brown and beautiful.
8. *Cool*: Let your masterpiece cool on a wire rack before slicing. This is the most challenging step, but believe me, the wait is worth it!

